Using a Raspberry Pi for time-lapse photography
Putting aside for a moment why a 30-year-old has an ant farm, I thought I would post the code I use to take minute-by-minute photographs of the colony as it grows:
I bought a Raspberry Pi, the $35 mini-computer designed for tinkerers, after reading the profile of creator Eben Upton in last year's Tech Review 35 Under 35. It's an amazing product: A fully functional Linux box with a credit card-sized motherboard that costs less than the fees on most actual credit cards.
My Pi arrived in a week and then sat in a drawer for six months, largely because I didn't have the right HDMI-to-DVI converter to connect it to a monitor. When I did eventually get it set up, I was largely stumped with what to do with it.
Recording the ants' progress seemed like task meant for the Pi. Many people have connected Raspberry Pis to actual cameras, but for my purposes this very cheap HD webcam, the Logitech c310, was sufficient.
Most of the tutorials I could find—and there are tons of them—are geared toward setting up an actual live webcam, usually with some combination of Arch Linux and a package called motion. The Pi can struggle with this task, particularly at any decent resolution. And it was more complex a solution than I wanted. Plus, I'm far from a Linux pro, and Arch is not a distribution for beginners.
Instead, I began with the basic Linux distro for the Raspberry Pi, Occidentalis, which has a very straightforward GUI. From there, I installed the fswebcam package, an easy-to-use command-line tool for instructing a webcam to take photos.
Getting Linux to recognize the webcam can be a little tricky and takes some trial and error. I installed a more sophisticated webcam program called Cheese that did the trick (I think).
From there, I made a folder called "motion" and created a config file called fswebcam.conf, relying on the documentation here.
device /dev/video0
input 0
skip 4
font luxisr:24
resolution 1280x720
jpeg 95
timestamp "%Y-%m-%d %H:%M:%S"
frames 4
bottom-banner
title "AntCam"
fswebcam actually has the capability of looping itself, but I went ahead and made a basic shell script to do the job:
#!/bin/bash
if [ -z $1 ]
then
echo "Please supply a folder name"
exit 0
fi
name=$1
echo $name
if [ -d /home/pi/motion/media/${name} ]
then
echo "Already have a project with that name."
exit 0
fi
echo "Making project $name"
mkdir /home/pi/motion/media/${name}
i=0
while true; do
sleep 60
fswebcam -c fswebcam.conf \
—save=/home/pi/motion/media/antcam.jpg \
—exec="cp /home/pi/motion/media/antcam.jpg /home/pi/motion/media/${name}/antcam-%Y-%m-%d-%H-%M-%S.jpg" \
—log=/home/pi/motion/media/${name}/webcam.log
scp /home/pi/motion/media/antcam.jpg [username]@mechanicalscribe.com:/path/to/antcam.jpg
echo "Took image ${i}"
let i=i+1
done
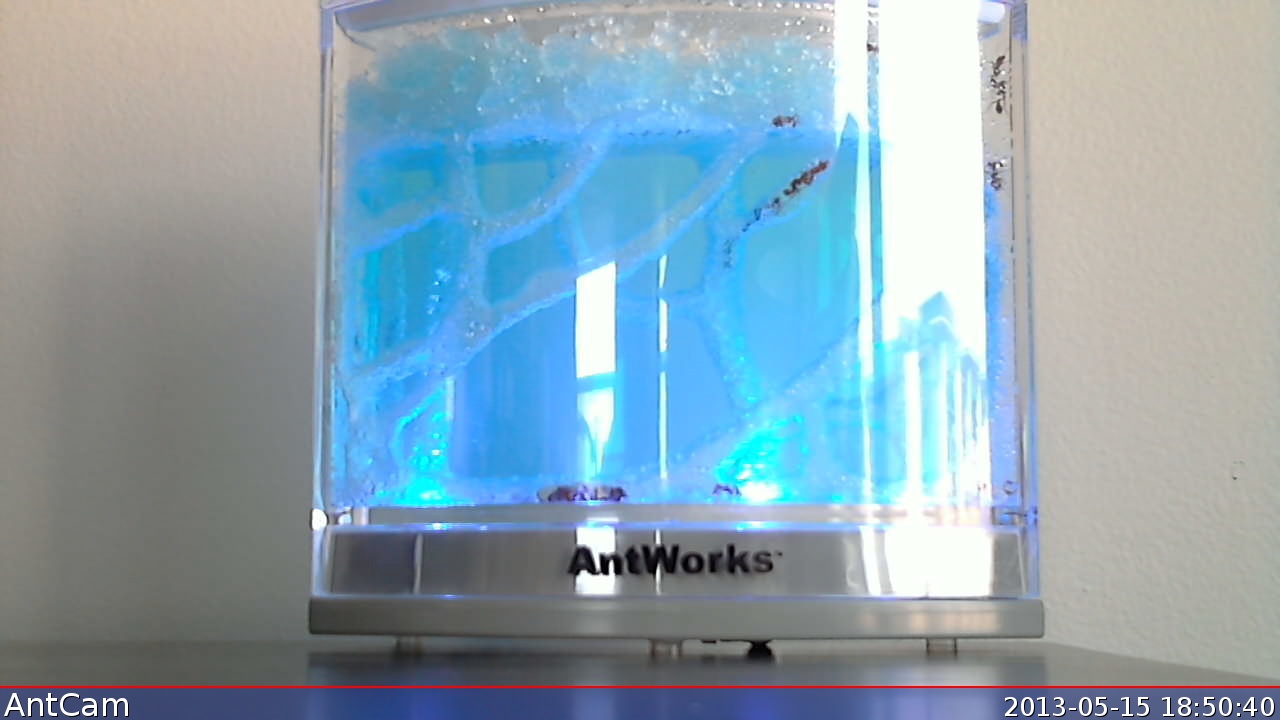
exit 0That's all there is to it. Once a minute, the webcam photographs the ant farm, makes a new 1280x720 resolution image with the current timestamp, copies that image to antcam.jpg, and securely copies that image to this website.
My original plan was to make a video from the images, but I think there's too much glare in the photos. Also, it may be time to move on.